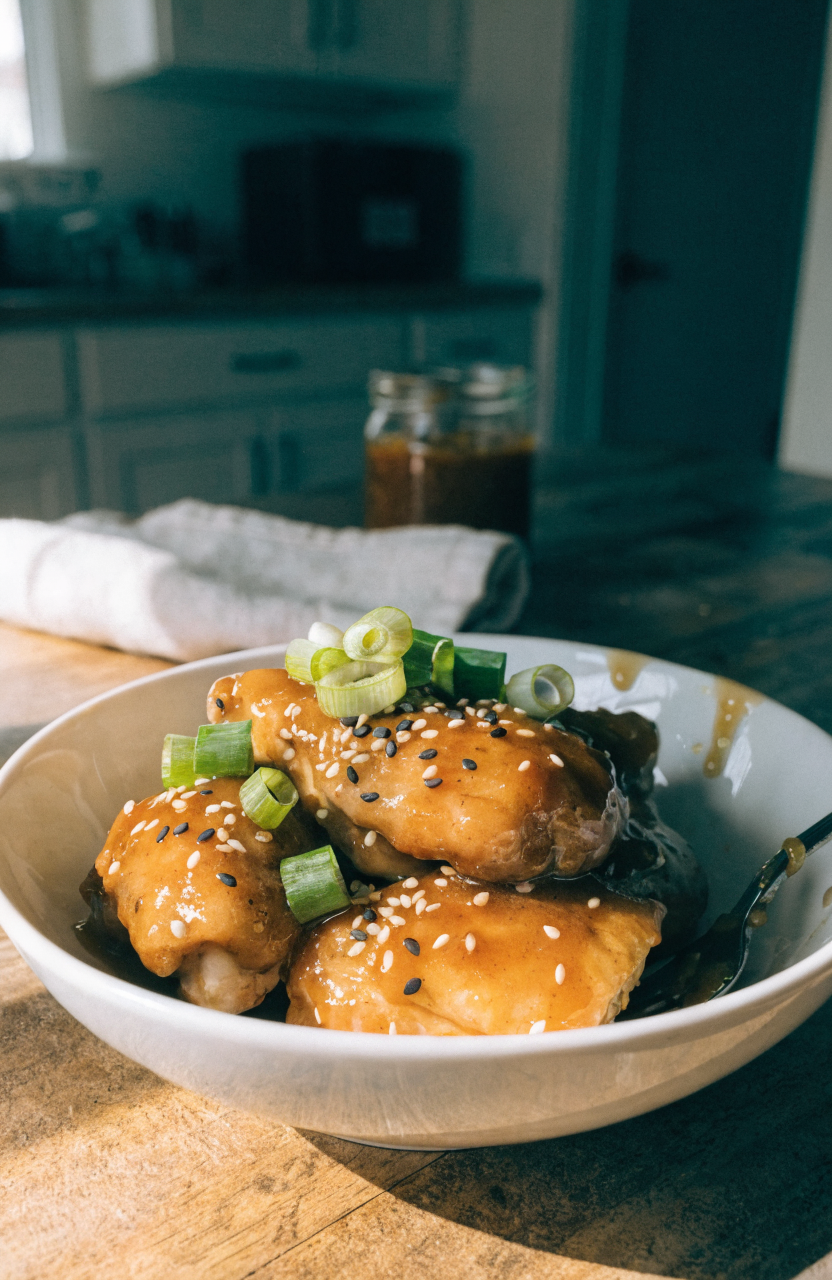
On a night when I wanted takeout flavors without the guesswork, my go-to became this honey garlic chicken. The first time I made it I overcooked the pieces and the sauce ran off the meat, so I rebuilt the method to include a short pan-sear and a cornstarch-thickened finish; the result is sticky, shiny sauce that stays on the chicken and tender meat with a little caramelized crust. If you search for honey garlic chicken and want a reliable weeknight dinner, this recipe delivers consistent texture and flavor.
Why this honey garlic chicken works
The technique I settled on balances two things: heat control on the chicken and timing for thickening the sauce. I sear the chicken briefly in a hot skillet to develop color and flavor, then finish in the oven just long enough to reach safe doneness without drying. Meanwhile, the sauce combines honey, garlic, soy, and a splash of acid for brightness. The magic is finishing that sauce with a cornstarch slurry off the highest heat so it thickens fast into a glossy coating that clings to the meat instead of running off the plate. During testing I adjusted the honey-to-soy ratio to prevent overt sweetness and found that a tablespoon of rice vinegar or apple cider vinegar lifts the flavor and keeps it from tasting flat.
Key takeaways
- Sear first, bake second: a quick sear creates caramelized flavor while a short oven finish prevents dryness.
- Thicken off the heat: a cornstarch slurry added just before serving makes a shiny, clingy sauce.
- Balance is everything: a splash of vinegar and a pinch of red pepper flakes cut sweetness and add depth.
Ingredients you’ll need and what to substitute
This recipe uses pantry-friendly ingredients: boneless chicken, honey for sweetness, soy sauce for umami, fresh garlic for punch, and cornstarch to thicken. I prefer boneless skinless chicken thighs for juiciness and forgiving cook time, but chicken breasts work if you monitor temperature. Use low-sodium soy sauce if you’re watching salt—just taste before seasoning extra. If you don’t have rice vinegar, apple cider vinegar works fine; balsamic is too heavy here. For a gluten-free version, swap tamari for soy sauce. If you want less sweet sauce, reduce honey by 1 to 2 tablespoons and add 1 teaspoon more vinegar.
Equipment
You don’t need fancy tools. A 12-inch skillet (preferably oven-safe) is ideal so you can sear on the stove and finish in the oven; if you don’t have an oven-safe skillet, transfer to a rimmed baking sheet or 9×13-inch baking dish. Use a reliable instant-read thermometer to check doneness. A small bowl for the slurry and a whisk or fork for mixing the sauce make the process smoother.
How to make honey garlic chicken
Prep and sear
Start by trimming excess fat and patting the chicken dry—this is important because a dry surface browns instead of steaming. If using thighs, leave them whole; for breasts, slice horizontally into even cutlets or pound gently to uniform thickness. Season lightly with salt and pepper. Heat 1 tablespoon neutral oil (canola or vegetable) in a 12-inch oven-safe skillet over medium-high until shimmering. Add the chicken in a single layer without crowding; you may need to work in two batches. Sear 2 to 3 minutes per side until a deep golden crust forms. Don’t worry about cooking through yet.
Finish in the oven
Preheat the oven to 400°F while searing. After all pieces are seared, return them to the skillet (or arrange in a baking dish) and transfer to the oven. Bake 8 to 12 minutes depending on thickness—thighs will be closer to 10–12 minutes, thin breasts will be 8–10. The target internal temperature is 165°F for chicken breasts and thighs; remove the skillet when the thickest part reads 160–162°F because carryover will bring it to 165°F while you finish the sauce. Let the chicken rest briefly while you make the sauce so juices redistribute.
Make the honey garlic sauce
While the chicken rests, wipe the skillet of any burned bits leaving the browned fond, then place it over medium heat. Add 1 tablespoon butter and 1 tablespoon oil if the pan is dry, then sauté 4 to 5 minced garlic cloves for about 30 seconds until fragrant but not browned. Stir in 1/3 cup honey, 1/4 cup soy sauce, 2 tablespoons rice vinegar, 1 teaspoon grated fresh ginger (optional), and 1/4 teaspoon red pepper flakes. Bring to a gentle simmer and taste for balance—add a pinch of salt only if needed.
Thicken and finish
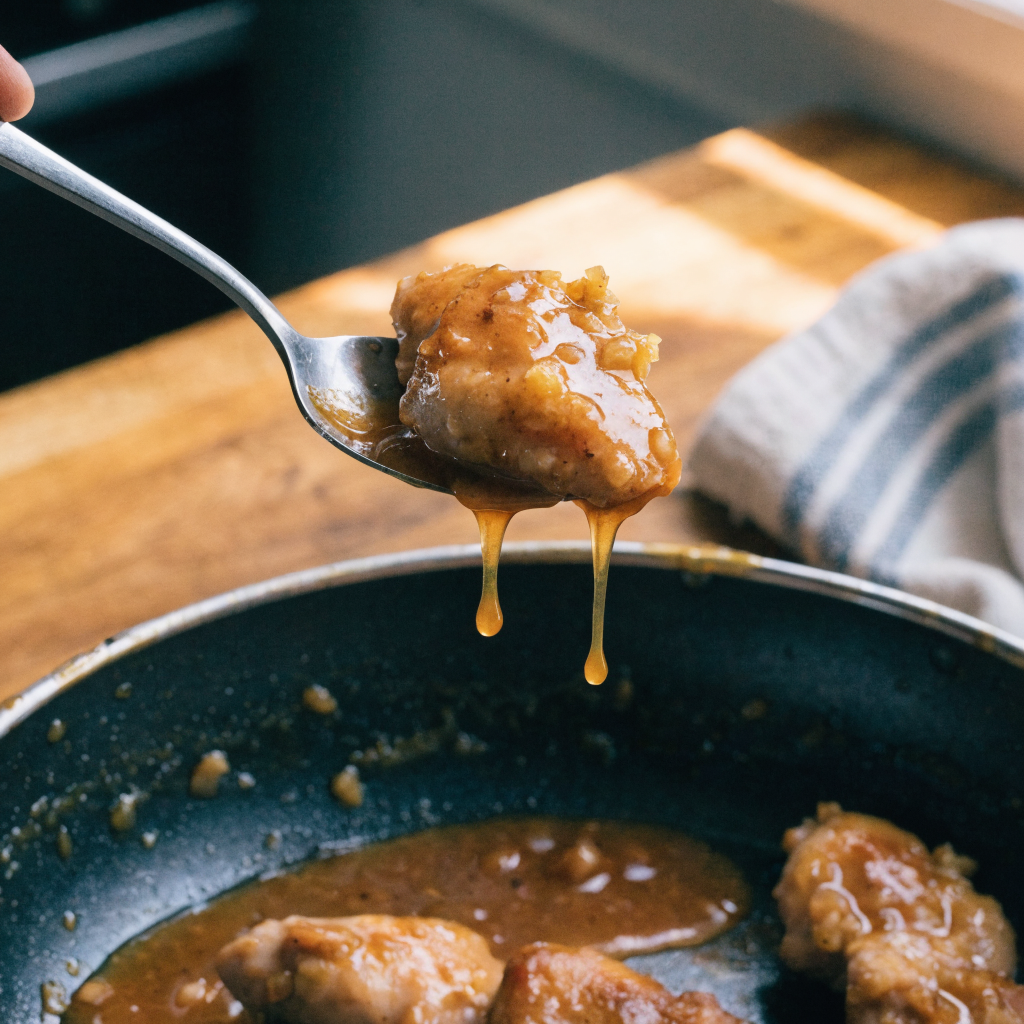
In a small bowl, whisk together 1 tablespoon cornstarch with 1 tablespoon cold water to form a slurry. Remove the sauce from the heat and stir in the slurry; return to low heat and stir constantly until the sauce thickens and becomes shiny, about 30–60 seconds. Turn off the heat and swirl in 1 tablespoon butter for gloss and richness. Return the chicken pieces to the skillet and spoon the sauce over them so each piece gets coated. Let the chicken sit in the warm sauce for 2 minutes so it becomes sticky and glossy before serving.
Things I learned the hard way
- Don’t skip patting the chicken dry—moisture causes steaming and prevents browning.
- I once added the cornstarch slurry straight into a rolling boil and made a lumpy sauce; always whisk slurry into a little water first and add off high heat.
- Overcrowding the pan kills the sear; work in batches if needed and keep the skillet hot between batches.
- If your sauce is too thin, don’t add more cornstarch raw—mix another slurry and add slowly while stirring.
- If the sauce gets too sweet, a teaspoon of extra vinegar or a squeeze of lemon balances it quickly.
- First attempt mistake: I baked the raw chicken without searing and ended up with pale meat and less flavor; searing fixed that every time.
Variations to try
- Spicy honey garlic: add 1 teaspoon Sriracha to the sauce and reduce honey by 1 tablespoon; no temperature adjustment needed.
- Sticky thighs for meal prep: use bone-in, skin-on thighs but increase bake time to 20–25 minutes and finish under the broiler 1–2 minutes for crisp skin (watch closely).
- Ginger-forward: double the grated fresh ginger to 2 teaspoons and lower the honey by 1 tablespoon; flavor is brighter and slightly less sweet.
- Sesame twist: stir in 1 tablespoon toasted sesame oil at the end and garnish with 1 tablespoon toasted sesame seeds; no timing changes required.
Storage, freezing, and reheating
Refrigerate leftover honey garlic chicken in an airtight container for up to 3 days. The sauce will thicken when cold; reheat gently in a skillet over low-medium heat with a splash of water or chicken broth to loosen it, about 4–6 minutes, spooning the sauce over the chicken. Freezing is possible for cooked chicken without the sesame garnish: freeze in a shallow airtight container for up to 2 months. Thaw overnight in the refrigerator, then reheat as above. Expect the texture to be slightly softer after freezing.
What to serve with honey garlic chicken
This dish pairs well with steamed white rice or jasmine rice to soak up the sauce, a simple stir-fried vegetable mix (snap peas, bell pepper, carrots), or a crisp cucumber salad to cut richness. For a low-effort weeknight plate, serve with store-bought microwaveable rice and a bagged coleslaw dressed with a light vinaigrette. These sides complement the sweet-salty sauce without competing with it.
Honey Garlic Chicken (Sticky, Oven-Finished Sauce)
Ingredients
Equipment
Method
- Trim any excess fat from the chicken and pat pieces dry with paper towels; season both sides lightly with kosher salt and black pepper.
- Heat 1 tablespoon of oil in a 12-inch oven-safe skillet over medium-high heat until shimmering, then add chicken in a single layer without crowding and sear 2 to 3 minutes per side until deep golden; work in batches if needed and add the remaining tablespoon oil between batches.
- Preheat the oven to 400°F while searing; return all seared pieces to the skillet (or transfer to a 9×13-inch baking dish) and bake 8 to 12 minutes depending on thickness until an instant-read thermometer reads 160–162°F (carryover will bring it to 165°F). Remove and let rest while you make the sauce.
- Wipe excess burnt bits from the skillet, set over medium heat, add 1 tablespoon butter and sauté the minced garlic for about 30 seconds until fragrant (do not brown). Stir in the honey, soy sauce, rice vinegar, grated ginger, and red pepper flakes and bring to a gentle simmer.
- Whisk 1 tablespoon cornstarch with 1 tablespoon cold water to make a slurry; remove the skillet from the highest heat and stir the slurry into the sauce, then return to low heat and stir until the sauce thickens and becomes glossy, about 30–60 seconds. Turn off the heat and stir in 1 tablespoon butter.
- Return the chicken to the skillet and spoon the sauce over each piece, letting them sit in the warm sauce for 1–2 minutes so it clings. Garnish with sliced green onions and toasted sesame seeds if desired and serve hot.
Notes
Frequently asked questions
Can I use chicken breasts instead of thighs? Yes—chicken breasts work well if you slice them into even cutlets or pound them thin for even cooking; watch the oven time closely and pull at 160–162°F to prevent dryness.
How do I stop the sauce from being too sweet? Reduce the honey by 1 to 2 tablespoons and add 1 teaspoon extra vinegar or a squeeze of lemon to brighten the sauce.
Can I make the sauce ahead? You can make the sauce and refrigerate it for up to 48 hours; warm gently and whisk in a small cornstarch slurry if it has separated before coating the cooked chicken.
Is cornstarch necessary? Cornstarch gives the glossy, clingy texture; if you prefer not to use it, simmer the sauce a little longer to reduce, but be careful—long reduction intensifies sweetness.
Can I grill this chicken? Yes, grill pre-seared or raw chicken over medium-high heat until it reaches 165°F; brush with sauce in the final 2–3 minutes and remove to avoid burning the honey.
How long does it keep in the fridge? Store leftovers in an airtight container for up to 3 days.
Making honey garlic chicken this way fixed the two main issues I ran into at first: dry meat and runny sauce. The sear-plus-bake timeline and quick cornstarch finish give tacky sauce and tender chicken every time, which is exactly what I look for in an approachable weeknight recipe.


Leave a Reply