I first made my zucchini garlic bites when I had more summer squash than my fridge could handle and wanted something shareable at a backyard gathering. These zucchini garlic bites are my go-to now because they crisp up on the outside, stay tender inside, and carry bright garlic-and-herb flavor without tasting oily. I tested both oven and air-fryer methods and found simple steps that stop them from turning watery or crumbly—keep reading for the exact technique I rely on.
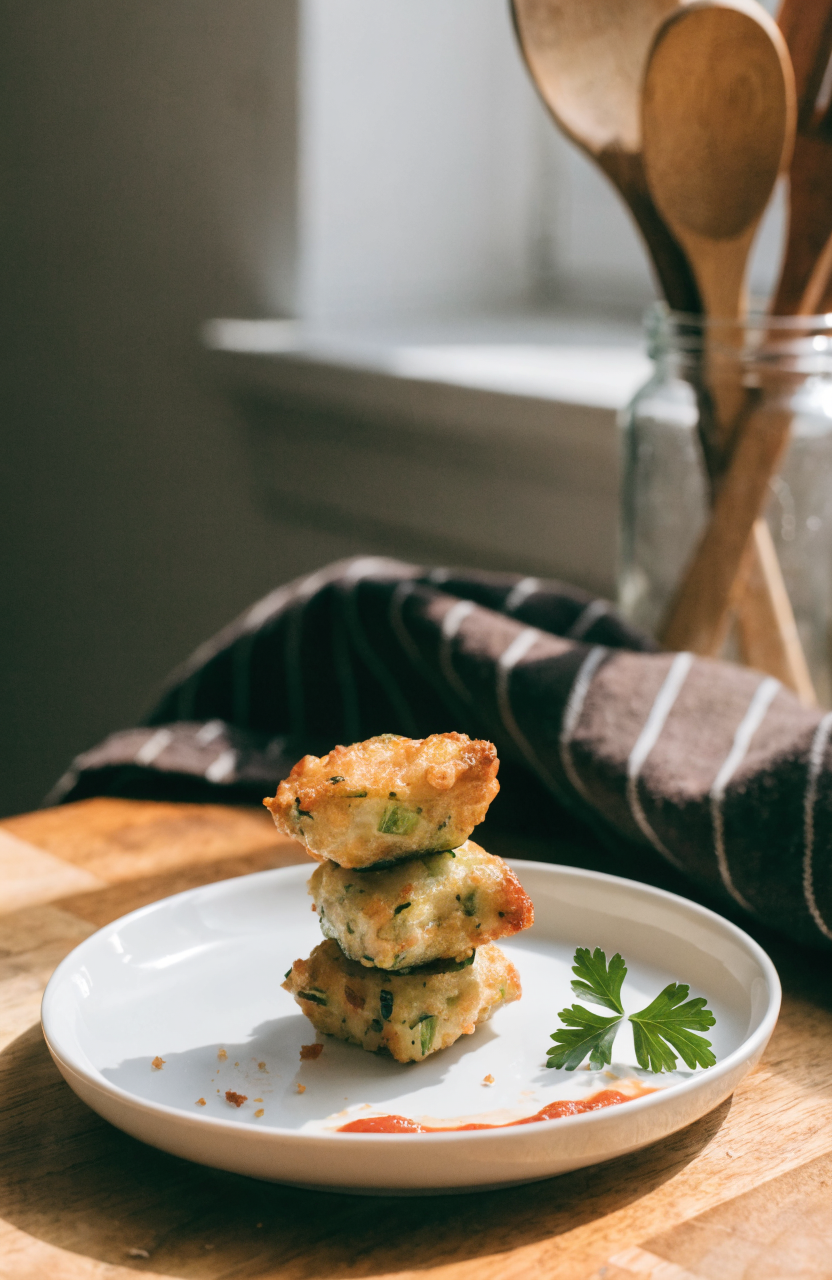
Why this zucchini garlic bites recipe works
The core technique is removing excess moisture from the shredded zucchini before mixing it with the binder; that prevents the bites from going soggy during cooking. I use about 1 large egg per 2 cups of drained zucchini and 1 cup of finely grated Parmesan to create the right structure without overwhelming the squash flavor. Light salting and a short rest draws out water, and squeezing with a clean kitchen towel or fine-mesh sieve is the practical step that changed everything for me. During testing I learned that slightly under-baking in the oven and finishing with a quick broil gives a golden crust while keeping the interior tender; in the air fryer a single, well-spaced batch crisps faster without extra oil. Together these adjustments solve the two most common problems people have with zucchini fritters: wet centers and falling-apart edges.
Key takeaways
- Drain shredded zucchini thoroughly to avoid soggy bites.
- The egg + Parmesan ratio holds edges without needing excessive flour.
- Both oven and air-fryer methods give crisp results when you follow spacing and timing.
Ingredients you’ll need and what to substitute
For flavor I lean on garlic, fresh parsley, and a touch of lemon zest to keep the bites bright. Parmesan provides both savory flavor and binding proteins; if you need a vegetarian option, use a hard vegetarian-style grating cheese. I prefer a light dusting of all-purpose flour for structure—gluten-free (GF) 1:1 flour blends can work but may absorb differently, so add 1 tablespoon at a time until the mixture is cohesive. Panko gives extra surface crunch if you coat the bites before baking or air-frying; plain dry breadcrumbs also work but will brown faster. If you need to reduce dairy, swap half the Parmesan for 2 tablespoons of nutritional yeast and increase the egg by one; expect a slightly different texture and a milder crust.
Key ingredient notes:
- Zucchini: Use firm, medium-sized zucchini and shred on the large holes of a box grater for texture that holds together.
- Parmesan: Freshly grated melts into the batter better than pre-grated blends.
- Garlic: Mince or grate finely; raw garlic flavor becomes mellow after baking but remains noticeable—roasted garlic can be used for a milder taste.
Equipment
A few common kitchen items make this easy: a box grater or food processor shredder disk, a large mixing bowl, a clean kitchen towel or cheesecloth for squeezing, a cookie scoop for uniform portions, and either a rimmed baking sheet with parchment or an air fryer (6-quart capacity or larger). If using the oven, a wire rack set inside a rimmed sheet pan helps circulation and prevents soggy bottoms; a sheet pan alone works if you flip the bites halfway.
How to make zucchini garlic bites
Prepare the zucchini
Trim zucchini ends and grate on the large holes of a box grater or using a food-processor shredding disk. Transfer shredded zucchini to a large bowl, stir in 1/2 teaspoon kosher salt, and let rest 10 minutes to draw out moisture. After resting, scoop the zucchini into a clean dish towel or several layers of paper towels, gather the corners, and squeeze firmly over the sink until mostly dry—this is the most important step for texture. I learned the hard way that skipping this makes the bites weep liquid while cooking.
Make the batter
In the large bowl, add the egg, grated Parmesan, 1/3 cup all-purpose flour, minced garlic, chopped parsley, lemon zest, 1/4 teaspoon black pepper, and a pinch of red pepper flakes if you like heat. Mix until cohesive; the mixture should hold together when pressed into a small patty. If it seems too wet, add up to 2 more tablespoons of flour or a tablespoon of fine breadcrumbs.
Form and cook
Preheat the oven to 425°F and line a rimmed sheet pan with parchment; if you have a wire rack, set it on the pan and lightly oil the rack. For the air fryer, preheat to 380°F for two minutes. Use a 1.5-tablespoon cookie scoop or two spoons to portion the mixture, pressing each portion into a compact round roughly 1/2-inch thick. For the oven, space bites about 1 inch apart and bake 12–15 minutes, flip, then bake another 6–8 minutes until edges are golden and centers spring back. For a crisper finish, broil 1–2 minutes, watching closely. For the air fryer, arrange bites in a single layer without overcrowding; cook 7–9 minutes, flip, and cook 4–5 more minutes until crisp and golden.
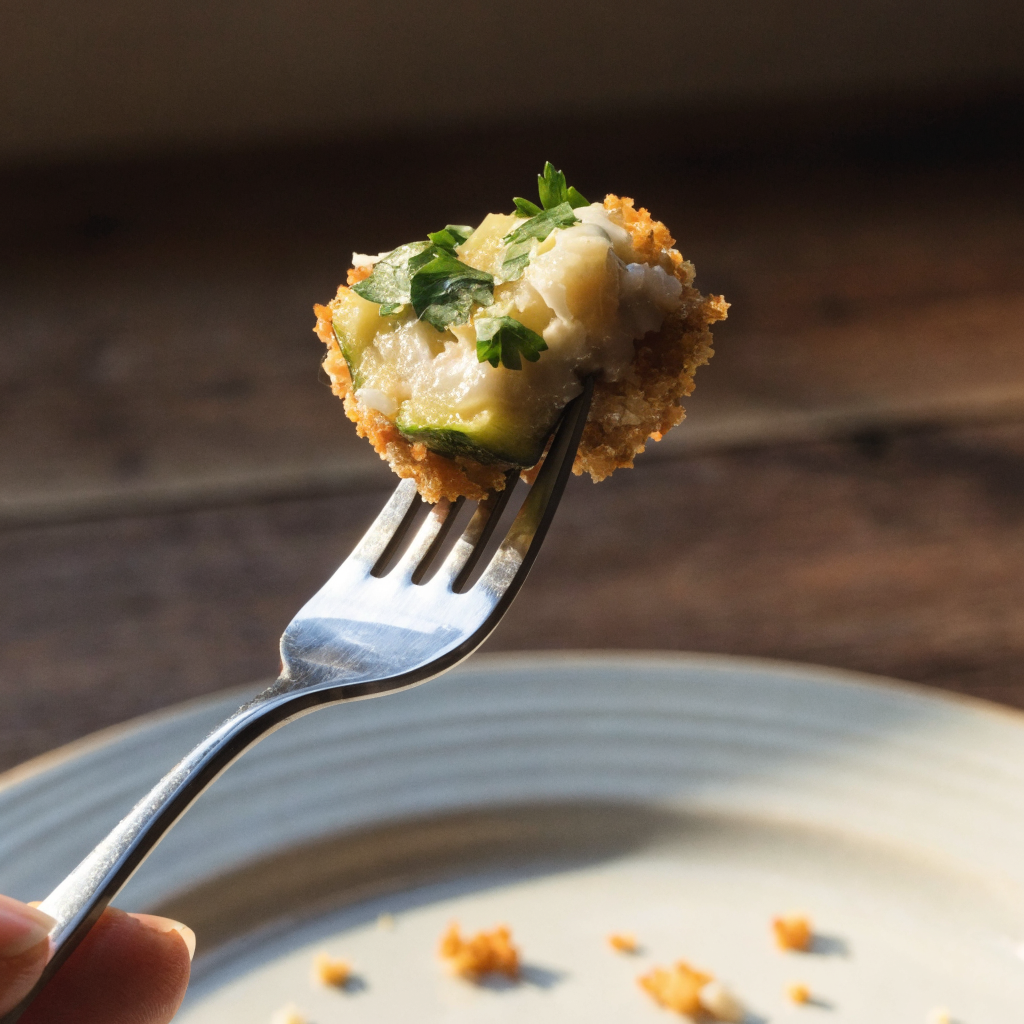
Visual and texture cues: The outsides should be lightly browned and firm; the centers should feel set but not dry. A tester bite should not be watery; if inner steam accumulates on the plate, reduce resting time between batches or press portions thinner next time.
Things I learned the hard way
- Don’t skip squeezing the zucchini—my first batch was watery and fell apart, so I started using a towel and the structure improved immediately.
- If the mixture feels loose, add flour a tablespoon at a time; too much flour makes the bites dense.
- Baking at too low a temperature makes bites limp; 425°F gives the right contrast between crust and tender inside.
- Air fryers vary—my 6-quart unit needed slightly less time than a compact 3.7-quart model, so check after the lower end of the range.
- Using a wire rack prevents soggy bottoms in the oven; if you don’t have one, flip the bites halfway to keep them crisp.
- For extra crunch, toss formed bites in panko before cooking and spray lightly with oil; they brown faster so watch the final minutes.
Variations to try
- Cheesy Herb: Swap half the parsley for chopped basil and add 1/4 cup shredded mozzarella; increase cook time by 1–2 minutes to melt the cheese.
- Spicy Italian: Add 1/2 teaspoon crushed red pepper and 2 tablespoons finely chopped sun-dried tomatoes; reduce salt slightly because tomatoes concentrate flavor.
- Gluten-free: Use a 1:1 gluten-free flour blend and 2 tablespoons extra Parmesan or 1 extra egg if texture is loose; air-fry timing often stays the same but oven time may be 1–2 minutes longer.
- Lemon-Ricotta: Fold in 1/4 cup ricotta and reduce the egg to 1; bake the same but expect a softer interior—use the broiler 1 minute to encourage a golden top.
Storage, freezing, and reheating
Refrigerate cooked zucchini garlic bites in an airtight container for up to 4 days. To reheat, preheat the oven to 375°F and arrange bites on a sheet pan; heat 8–10 minutes until warmed through and the edges re-crisp. In an air fryer, reheat at 350°F for 3–5 minutes. These bites don’t freeze at peak texture, but you can freeze uncooked formed bites on a sheet pan for 1–2 hours, then transfer to a freezer bag for up to 3 months. Cook from frozen, adding 2–3 minutes to the oven time or an extra minute or two in the air fryer; expect slightly more interior moistness after reheating.
What to serve with zucchini garlic bites
They’re great with a simple marinara dipping sauce, herbed Greek yogurt, or lemon-garlic aioli. For a light meal, serve alongside a green salad with a bright vinaigrette, or pile them next to grilled chicken and roasted tomatoes. For appetizer spreads, include them with marinated olives, crostini, and a bowl of mixed nuts.
Garlic Butter Pasta with Clarified Butter Finish
Ingredients
Equipment
Method
- Grate Parmesan, mince garlic, chop parsley, and measure water; melt 4 tablespoons unsalted butter in a small saucepan over low heat, skim and discard foam, and keep the clarified butter warm.
- Heat 2 tablespoons olive oil in a 4- to 6-quart Dutch oven over medium heat, add minced garlic and cook 30–45 seconds until fragrant and translucent but not browned; add red pepper flakes if using.
- Add 3 1/2 to 4 cups water and 1 1/2 teaspoons kosher salt; bring to a rapid simmer, then add the dry pasta and stir to submerge and separate the pieces.
- Simmer uncovered, stirring every 2–3 minutes to prevent sticking; cook about 1–2 minutes less than package directions (start testing early for al dente).
- When pasta is nearly al dente, reserve 1/2 cup of the starchy cooking liquid, then drain any obvious excess liquid and return the pasta to the pan over low heat.
- Add 2 tablespoons cold unsalted butter and the warm clarified butter, tossing vigorously to emulsify; stir in 1/2 to 3/4 cup grated Parmesan until creamy, adding up to 2 tablespoons reserved pasta water if needed to loosen.
- Stir in lemon juice (if using), chopped parsley, and season with black pepper and more salt to taste; serve immediately with extra Parmesan.
- If adding shrimp, sauté 8 ounces peeled shrimp separately in 1 tablespoon oil 2–3 minutes per side until opaque and fold in at the end; for mushrooms, sauté 8 ounces sliced mushrooms after the garlic until browned before adding water and pasta.
Notes
Frequently asked questions
Can I use frozen shredded zucchini? Yes, but thaw and drain thoroughly and press out as much water as possible before mixing; frozen zucchini often releases more liquid so add an extra tablespoon of flour if needed.
Do I have to use Parmesan? No—use Pecorino Romano for a sharper flavor or a vegetarian hard grating cheese; if avoiding cheese, increase the egg by one and add 2 tablespoons nutritional yeast for savory notes.
Can I make these ahead? You can form the bites and refrigerate them covered for up to 24 hours before cooking; if freezing raw portions, cook from frozen as noted in storage instructions.
Why did my bites fall apart? Usually because the zucchini wasn’t drained enough or there wasn’t enough binder; squeeze more moisture out and check the egg/cheese ratio—add a tablespoon of flour if necessary.
Is air-frying healthier than baking? Air frying uses less oil and often crisps faster, but both methods work; choose based on texture preference and available equipment.
Closing
These zucchini garlic bites bring a bright, garlicky Italian touch to snacks and small plates; the focus on draining and the tested binder ratio are what make them reliably crisp and not watery. I keep a batch in the fridge for easy snacking, and every time they come out with a pleasantly tender center and a crisp edge that holds up to dipping.


Leave a Reply