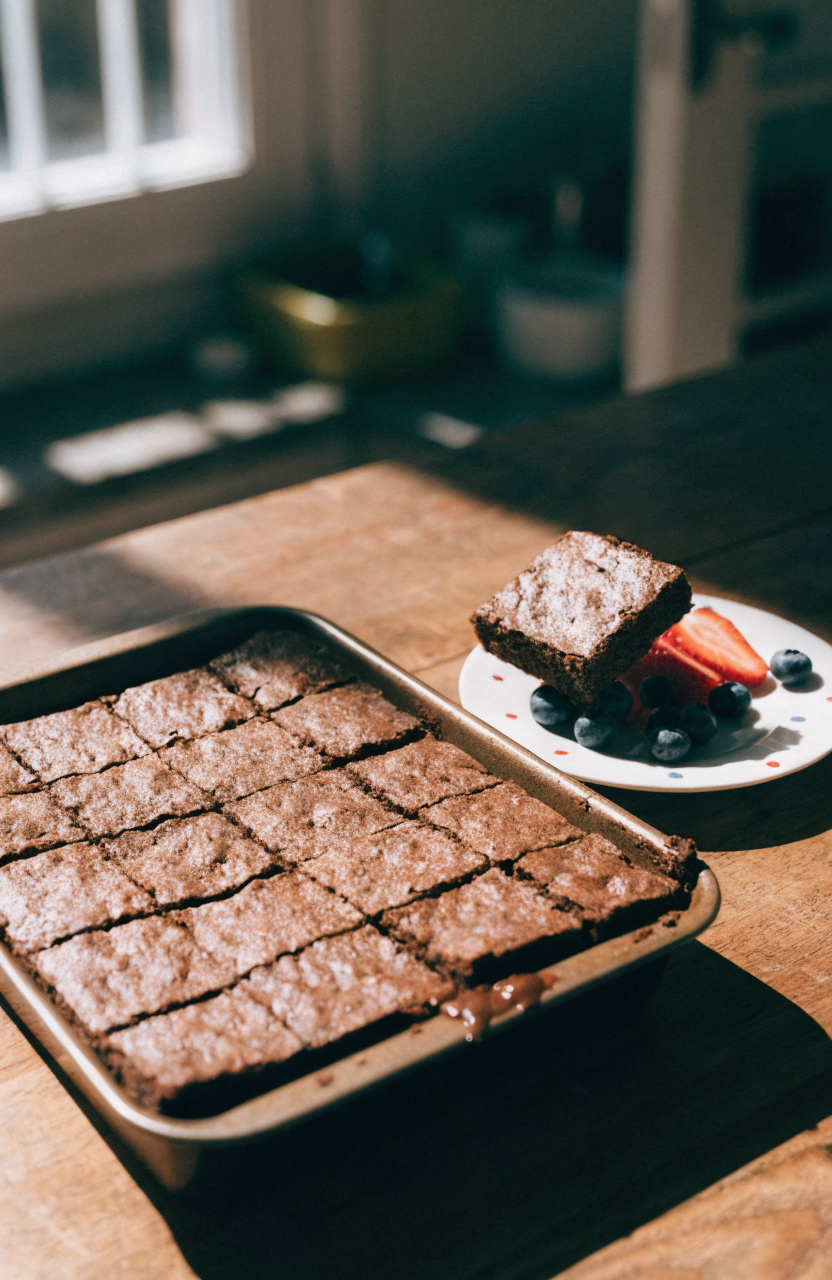
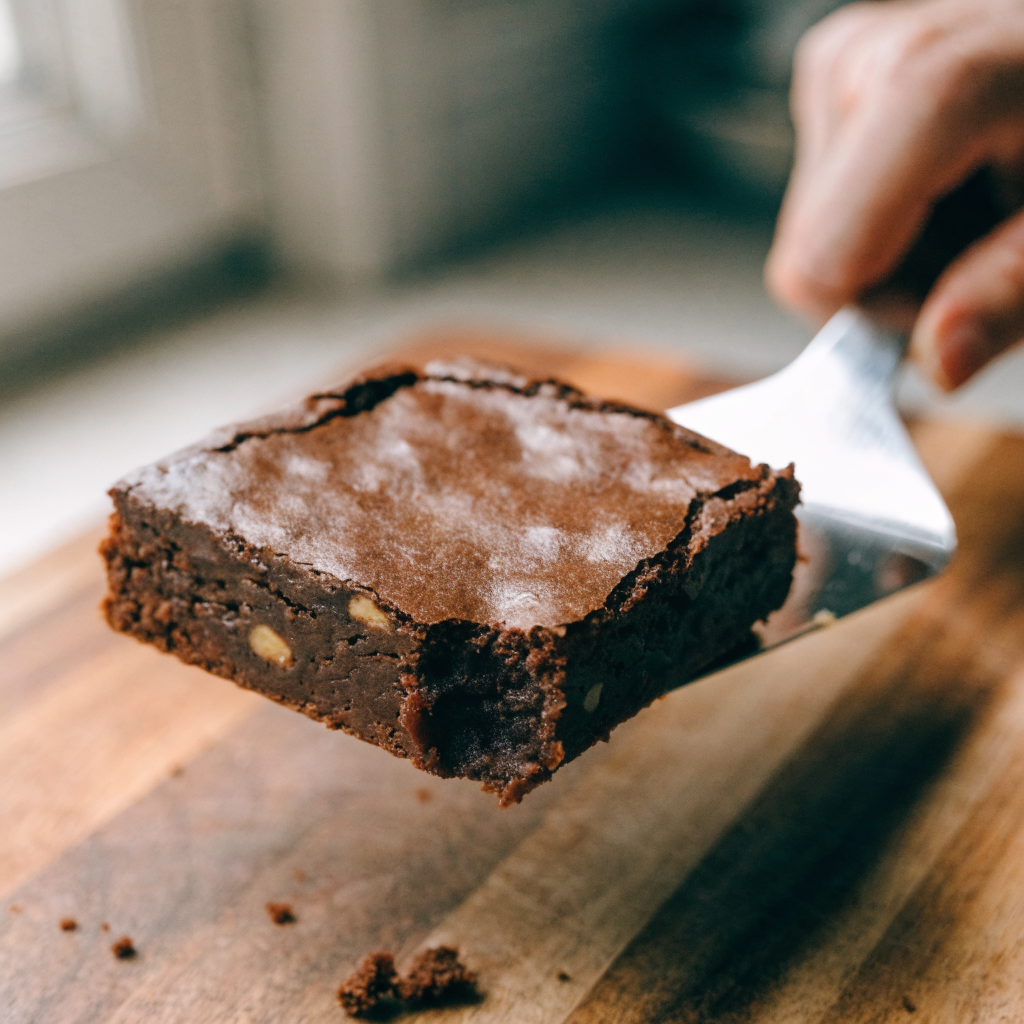
It happened the first time I tried to make patriotic party brownies: the edges were crunchy, the centers were cakey, and the shiny crackle top never appeared. I wanted a 4th of July brownie that reliably stays fudgy in the middle, holds a crisp edge, and develops that signature crackly top every time. The 4th of July brownies in this recipe do exactly that—rich, fudgy centers, crisp edges, and a glossy, crackly top that holds sprinkles and flag-themed decorations. I tested variations of chocolate percentages, oven racks, and a short cool-rest trick to land on what works for most home ovens.
Why this 4th of July brownies recipe works
The key technique behind these 4th of July brownies is controlling heat and moisture so the interior stays fudgy while the surface forms a thin, glossy skin that cracks during warm cooling. I use a higher chocolate-to-flour ratio and melt butter with chopped chocolate to create a dense chocolate base, then temper beaten eggs into the chocolate mixture to encourage that shiny top. I also pull the pan off heat a few minutes early and let carryover baking finish the center—a simple timing trick that prevents the dry, cakey centers many bakers get.
During testing I found that slightly underbaking by 3–5 minutes and letting the brownies rest in the still-warm pan on a cooling rack produced the best texture. I also settled on a 9×13-inch pan for party-size squares—this pan size balances edge-to-center ratio so guests get fudgy interior pieces and some crisp-edge squares. The recipe fits Taya Recipes’ focus on approachable baking: ingredients are pantry-friendly, substitutions are practical, and the steps include clear visual cues.
Key takeaways
- Use chopped chocolate plus cocoa for depth and a glossy top.
- Slightly underbake and let the pan rest to keep the center fudgy.
- Temper eggs into warm chocolate to form the crackly surface and stable texture.
Ingredients you’ll need and what to substitute
I keep the ingredient list short and flexible so you can still bake a great batch from common groceries. The chocolate ratio is the important part: I recommend a mix of semisweet chopped chocolate (or a semisweet baking chocolate bar) plus unsweetened cocoa powder for intense flavor without adding dryness. Use granulated sugar and a bit of light brown sugar for moisture and that thin glossy top. If you only have chocolate chips, use them—just chop half of them to help the chocolate melt smoothly.
Substitutions that work: swap the semisweet chocolate for 60–70% bittersweet if you prefer deeper chocolate flavor; replace up to 2 tablespoons of butter with neutral oil to make the brownies slightly shinier and denser; use coconut sugar one-for-one for a darker, caramel note (expect a slightly different top texture). If you need a nut-free version, omit the optional chopped nuts and add 1/4 cup extra chocolate or 2 tablespoons quick oats for structure.
Equipment
These are the tools that matter: a 9×13-inch baking pan (important for servings and baking time), an instant-read thermometer (helpful but optional), a medium saucepan and heatproof bowl or a double boiler for melting chocolate, a large mixing bowl, and a rubber spatula. If you have a stand mixer or hand mixer, you can use it to beat the eggs and sugar, but vigorous whisking by hand works fine and helps form that glossy top.
How to make 4th of July brownies
Prepare and melt
Preheat the oven to 350°F and line a 9×13-inch pan with foil or parchment, leaving a 1–2 inch overhang for easy removal. Place 6 ounces chopped semisweet chocolate and 10 tablespoons (1 stick plus 2 tablespoons) unsalted butter in a heatproof bowl set over (or above) simmering water. Stir occasionally until fully melted and smooth, then remove from heat and let cool for 3–4 minutes so the chocolate is warm but not hot.
Mix sugar and eggs
While the chocolate cools slightly, whisk together 2 large eggs and 2 large egg yolks with 1 1/4 cups granulated sugar and 2 tablespoons light brown sugar in a large bowl. Beat until the mixture is thick, pale, and slightly ribboning—about 2–3 minutes with a mixer, or 4–5 minutes by hand. This aeration helps create the thin, shiny top.
Temper and combine
Slowly drizzle about one-third of the warm chocolate into the eggs while whisking constantly; this tempers the eggs so they don’t scramble. Once combined, fold in the remaining chocolate with a rubber spatula. Add 3/4 cup unsweetened cocoa powder, 1 teaspoon fine sea salt, and 1 teaspoon vanilla extract. Fold in 3/4 cup all-purpose flour gently until just combined—do not overmix. Stir in 1 cup chopped walnuts or pecans (optional) and 2 tablespoons extra chocolate chunks for pockets of melted chocolate.
Bake and rest
Spread the batter evenly into the prepared pan and smooth the top. Bake on the middle rack at 350°F for 20–24 minutes. Start checking at 18 minutes: the edges should be set and pulling away slightly, the center will still jiggle but not look raw. Insert a toothpick in the center—expect a few moist crumbs, not clean. This is the key: remove the pan when a few moist crumbs cling to the tester. Let the pan rest on a wire rack for 25–30 minutes—during this warm resting time the brownies finish cooking gently and the crackly top develops.
Things I learned the hard way
- If you set the oven rack too low the top browns too quickly while the center stays underdone; middle rack is best.
- Skipping the tempering step caused lumpy, uneven texture on early trials; tempering the eggs with warm chocolate fixed it and improved the top gloss.
- Overmixing after adding flour produces cakey brownies; fold just until streaks disappear.
- Using only cocoa and no chopped chocolate gave a dry texture—mix of melted chocolate plus cocoa is the sweet spot.
- I once baked on a dark metal pan and the edges burned; if your pan is dark, lower oven temp by 10–15°F and reduce baking by 1–2 minutes.
- First-time mistake: I removed the brownies immediately and cut them hot—result was crumbly slices. Letting them cool and then chilling 20 minutes before slicing gave clean squares.
Variations to try
- Red Velvet Swirl: Fold 1/4 cup cream cheese mixed with 1 tablespoon powdered sugar into dollops on top before baking and swirl gently. Bake the same time; the cream cheese adds moisture so keep the center jiggle cue.
- Salted Caramel Brownies: After removing from oven, drizzle 1/3 cup warm salted caramel and sprinkle flaky sea salt. No time change needed but let set 30 minutes before cutting.
- Double-Chocolate Fudge: Replace 1/4 cup flour with 1/4 cup Dutch-process cocoa for an even denser bite; baking time stays similar but check earlier as the batter will look firmer.
- Nut-Free Crowd Pleaser: Omit nuts and fold in 1/2 cup mini chocolate chips; add 1 extra tablespoon butter if you want a slightly more glossy top.
Storage, freezing, and reheating
Store cooled brownies in an airtight container at room temperature for up to 3 days; place parchment between layers to prevent them from sticking. For longer storage, wrap the cooled, cut squares tightly in plastic wrap and freeze in a freezer-safe container for up to 3 months. Thaw overnight in the refrigerator or at room temperature for 1–2 hours. To refresh a slightly firm or chilled brownie, warm individual pieces in a 300°F oven for 6–8 minutes or microwave for 8–12 seconds to bring back a slightly gooey center. Expect slight texture change after freezing—freshly baked brownies are always the creamiest.
What to serve with 4th of July brownies
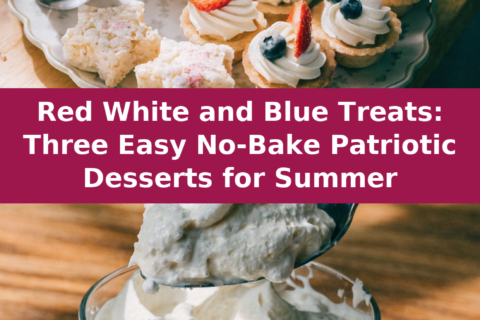
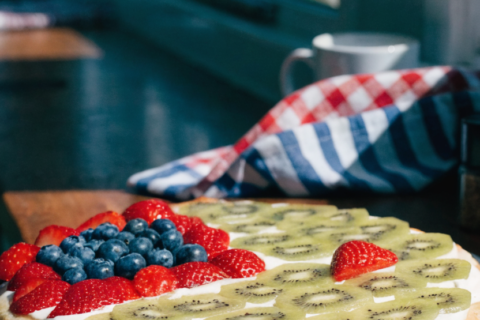
These brownies pair well with cool, creamy accompaniments: a scoop of vanilla ice cream, whipped cream lightly sweetened with vanilla, or a dollop of vanilla mascarpone. For a patriotic dessert table, put them on a platter with fresh strawberries and blueberries or drizzle white chocolate and sprinkle red and blue nonpareils. They also work as a brownie sundae station for summer parties.
Fudgy 4th of July Brownies with Crackly Top
Ingredients
Equipment
Method
- Preheat the oven to 350°F and line a 9×13-inch pan with foil or parchment, leaving an overhang for easy removal; set a rack in the middle position.
- Place chopped semisweet chocolate and butter in a heatproof bowl over simmering water and stir until just melted and smooth, then remove from heat and cool for 3–4 minutes until warm but not hot.
- Whisk the eggs, egg yolks, granulated sugar, and light brown sugar in a large bowl until thick and slightly ribboning (2–3 minutes with a mixer or 4–5 minutes by hand).
- Slowly drizzle one-third of the warm chocolate into the egg mixture while whisking constantly to temper the eggs; fold in remaining chocolate with a spatula, then add cocoa, salt, vanilla, and fold in flour until just combined.
- Fold in chopped chocolate chunks and nuts if using, taking care not to overmix.
- Spread batter evenly in the prepared pan and bake at 350°F for 20–24 minutes; start checking at 18 minutes—edges should be set, center should jiggle slightly and a toothpick should come out with moist crumbs.
- Remove from oven and let the pan rest on a wire rack for 25–30 minutes to finish cooking gently and develop a crackly top.
- After the warm rest, lift the brownies from the pan using the overhang and transfer to a cutting board; for cleaner slices chill for 15–20 minutes before cutting into 16 squares and garnish with sprinkles or berries if desired.
Notes
Frequently asked questions
Q: Can I make these brownies a day ahead?
A: Yes—bake, cool completely, cover, and keep at room temperature. Cut them the next day for cleaner slices; chilling 20 minutes before slicing helps.
Q: Why didn’t I get a crackly top?
A: The most common causes are under-whisked eggs (not enough aeration) or adding cooled chocolate that’s too cool and not warm enough to set the glossy skin. Whisk the eggs and sugar until slightly thick and warm the chocolate so it’s fluid but not hot before tempering.
Q: Can I use a different pan size?
A: Yes, but you’ll change bake time. A 9×9-inch pan will yield thicker brownies—add 6–10 minutes of baking and check for the same moist-crumb cue. A half-sheet will be thinner and will bake faster; reduce the time by 4–6 minutes and watch closely.
Q: Can I use frozen eggs or egg substitutes?
A: Use fresh or thawed refrigerated eggs for best texture. Egg substitutes often don’t replicate the glossy top since they lack the same proteins and structure.
Q: Can I make these gluten-free?
A: Replace the flour with an equal-weight gluten-free all-purpose blend that contains xanthan gum. Texture may be slightly different—check for moist crumbs at the center rather than a clean toothpick.
Closing
These 4th of July brownies give you fudgy centers, crisp edges, and that shiny crackly top I was chasing—perfect for a patriotic dessert table or any summer gathering. I usually make this batch a few hours before guests arrive and let them cool in the pan; the timing trick reliably keeps the centers glossy and sliceable. Happy baking and enjoy the brownies with a scoop of ice cream or fresh berries.

Leave a Reply